-

- Forums
- Chatrooms
- Gallery
- Gameplay Videos
- Upload
- Articles
- Mod Reviews
- Shop SP: Games, Movies, Books
|
|
Death God’s Vault, Level 1
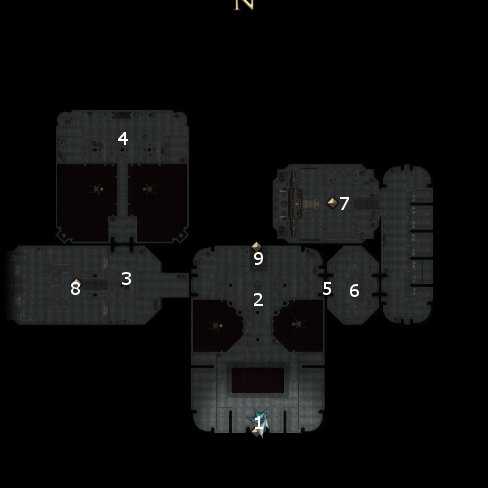
In this level of the Vault are a lot of Offering Urns that hold gold or other treasures. You can try looting them, but a Dread Wraith will attack you each time. This is why I recommend postponing exploring this dungeon until Act II, because you now have a ready made supply of food on hand, and can also acquire Spirit Essences in the process.
 Once the fighting is over, a ghostly Priest will appear. Speak to him long enough and you’ll be able to glean background information from him and another two spirits who call themselves the Child and the Brute. Speak to him and a clear picture emerges. The lower level of the Vault served as a prison for enemies of Myrkul’s faith. The furnace has trapped the spirits of those the Priest condemned to death by cremation. He himself joined them when he was killed by servants of Cyric who pillaged the Vault following Myrkul’s death. If you’re good or neutral, you can sympathize with him and be able to grant his soul eternal solace. This grants you the Eternal Rest ability, which allows you to replenish your spirit energy through the negative energy of undead beings without increasing your craving. If you’re evil, such a possibility won’t even occur to you and you’ll simply have to devour his spirit to progress the game.
 If you devoured Okku and are carrying his husk, the Child offers to have all of the spirits inhabit the husk and collectively act as your servant. This recruits One of Many into your party.