-

- Forums
- Chatrooms
- Gallery
- Gameplay Videos
- Upload
- Articles
- Mod Reviews
- Shop SP: Games, Movies, Books
|
|
Boneyard
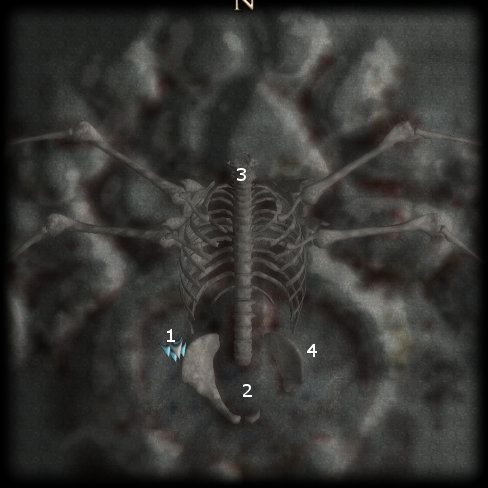
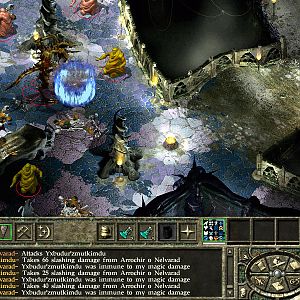
 Here is where you can start a dialogue with Myrkul by clicking on his skull. It is also ample opportunity to either gain or lose a lot of influence with Kaelyn depending on your dialogue choices since the Wall of Faithless is a subject of intense disagreement. Myrkul does not lose the opportunity to glorify in the punishment he chose for Akachi and why and thus explain fully the nature of your curse. He’ll also reveal that the key to ending the curse is to find your soul which has taken Akachi’s place in the Wall of the Faithless. To do this, you must find Akachi’s lover, who lives on after he tore her from the Wall. She carries the Silver Sword of Gith, which will allow you to reach the City of Judgment.
 You can use Devour Spirit on him, which also earns Myrkul’s Essence. and also causes the Knights to attack you. Kaelyn will definitely not approve since she suspects that you’ll be absorbing Myrkul’s evil power into yourself. In this she is quite correct because it means you now have the Ravenous Incarnation ability, which allows to take on a fiery yet undead seeming form that can replenish your spirit energy each time you land a physical blow.