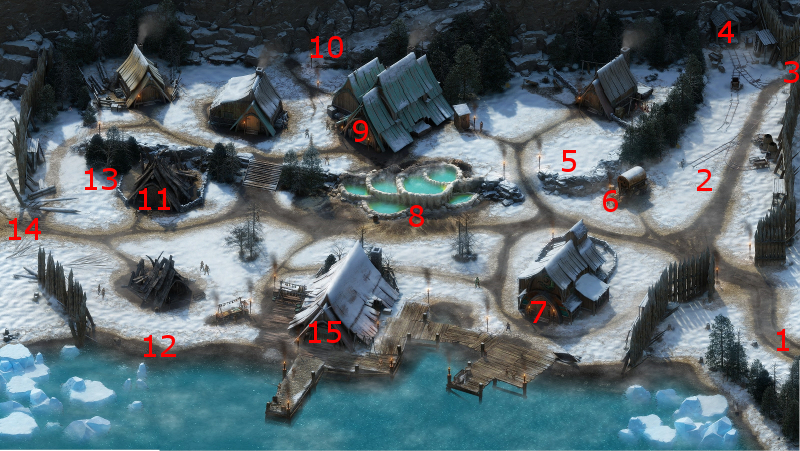
A recently slain assassin will be at #13 Stalwart Village map after you have completed both the Siege of Cragholdt and The Iron Flail quests. Captain Ogne and his guards will have taken her down, and he'll indicate that you were her target. Benevolent, Clever, Rational and Stoic replies are possible during the conversation.
You can use your Watcher abilities to ascertain that the assassin was sent after the killer of Concelhaut, and that her own master resides in a bog. This event triggers the quest, and reveals Mowrghek Ien on the World Map.
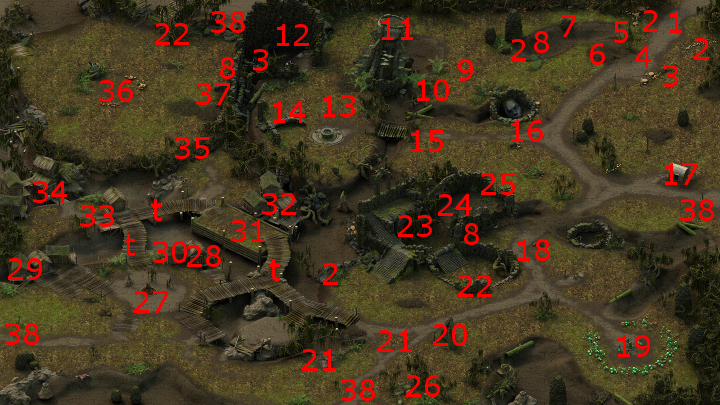
You will have to travel to the southwest area of the are to make progress. That means that you will have to fight multiple waves of Bog Cultists. Some of the battles can be tough, so don't be afraid to let loose with your spells if that's what is required to survive.
You can click on the vines at #35 to get to the other side.
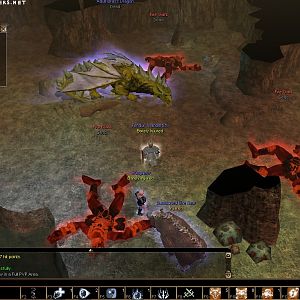
You will encounter the archmage named Llengrath and her two pet Bog Dragons, Gafonercos and Tunisulfus, at #36. There are two ways to go about this.
One is to strike a deal with Llengrath. To do so, you must have Concelhaut's Skull in your possession from the Siege of Cragholdt quest to begin the negotation. You must then make a Resolve check of 17 to convince Llengrath that you will not share Concelhaut's knowledge with anyone. You will get rewarded with 2 Bog Dragon Scales, the Mental Prowess talent (+1 Intellect, +1 Perception, +1 Resolve), and +5 Security for your stronghold.
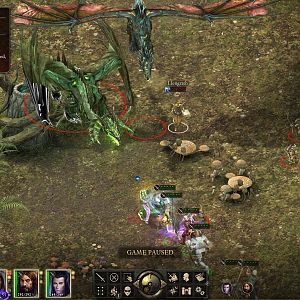
The other course is to fight them, which will happen if you choose to attack or if you don't have the Skull in your possession or are unable to make the Resolve check. This is definitely one of the toughest fights in the game. You're now fighting two Dragons that can hit multiple party members with tail swipes and acidic breath weapons, and an archmage at the same time. There will also be the odd Bog Lurker and a few Xuarips thrown in for good measure.
If Llengrath sticks her neck out, and she frequently does, then by all means go all out for her to take her out first and foremost. She's considerably squishier in comparison to the Dragons, and the Dragons themselves will be relatively easier to take on without her spells making things more complicated.
As for the Dragons, there are a few approaches. One is to use the trick of equipping both a shield and another item that both provide +50 to all defenses on Prone or Stun on a character, casting Withdraw or Beetle Shell on that character, and then having the Cipher use Defensive Mindweb to put everyone's defenses through the roof. Keep in mind that this is a prolonged battle, so if you're going to rely on this approach then you'll likely need to do it multiple times.
Also, given the Dragons' resistances (which are pretty high for just about everything), single-target attacks that inflict Raw damage are highly recommended. Examples include the Cipher's Detonation power, as well as the Wizard's Ninagauth's Killing Bolt.
Concelhaut's Crushing Doom is also a very good spell to use here. It is unique in comparison to other spells in that it can keep any one of the Dragons or Llengrath Prone for a significant duration.
Also, it may be advisable to keep your characters spread out to avoid all of them getting caught by the Dragon's acidic breath weapons.
It is of course adviseable to have your tanks on the Dragons from the word go, while other characters come in after the initial engagement, but keep in mind that the tanks themselves may be in real danger over the long haul. So it may be recommended to keep them stocked up on Potions of Major Endurance and the like.
and Llengrath's Grimoire. The grimoire will have a few spells created by Llengrath that you cannot learn anyway else. Lastly, you will get +10 Prestige for your stronghold.
Sorcerer's
Place is a project run entirely by fans and for fans. Maintaining
Sorcerer's Place and a stable environment for all our hosted sites requires a substantial amount of our time and funds on a regular basis, so please consider supporting us to keep the site up & running smoothly. Thank you!
Supporting Sorcerer's Place
Has Sorcerer's Place been useful? If you'd like to show your appreciation
for our hard work on the site, and help us pay the bills the site generates
every month, please consider helping support SP.
Thank you!

 You will encounter the archmage named Llengrath and her two pet Bog Dragons, Gafonercos and Tunisulfus, at #36. There are two ways to go about this.