-

- Forums
- Chatrooms
- Gallery
- Gameplay Videos
- Upload
- Articles
- Mod Reviews
- Shop SP: Games, Movies, Books
|
|
Brecilian Forest | The Camp | Circle Tower | Denerim | The Final Battle | Haven | Landsmeet | Lothering | Orzammar | Ostagar | Redcliffe | Ruined Temple Areas available as Downloadable Content: Honnleath | Return to Ostagar | Warden's Keep |
The Final Battles | The Archdemon |
The Archdemon
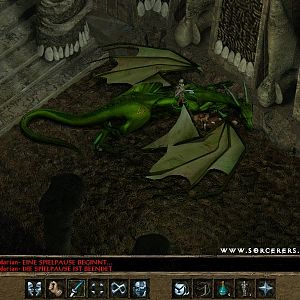
 Now you're ready for the final battle of the game, against a rather hideous looking and enormous Dragon that, just as soon as you arrive, makes short work of the soldiers atop Fort Drakon. Now it wants to do the same to you, and here's some of the powers that it will use to try and accomplish that:
Phase One
The Archdemon will try to kill you on its own, and is often willing to fly around to attack at a distance, or get up close and personal.
Phase Two
Once the Archdemon is reduced to about half-health, it will fly to a part of the platform that is inaccessible to you by foot. It will stay there and use spirit damage attacks from a distance. There will also be a steady stream of Darkspawn from the doors in all directions. You'll also get allies here from among the forces you recruited, like Dwarves, Elves, or Redcliffe Soldiers. Some more notable ones will show up as well. These may include Zathrian if you sided with him against the Werewolves, Swiftrunner if you sided with the Werewolves against the Elves, Kaldorn, Knight Commander Greagior if you sided with the Templars, or First Enchanter Irving if you sided with the Circle. Use your healing spells on them as they will be powerful allies that can help you tremendously. In the meantime, as much as possible, try to gain clear shots on the Archdemon with your missile weapons and staves. But mind you, keep an eye for how many Darkspawn are coming your way. Sometimes your allies can hold them up, letting you fire away on the Archdemon. Other times though, you may need to turn your attention to the Darkspawn simply to thin their numbers enough for a time so that you can return your attention to the Archdemon. Sometimes what works is to have a warrior or two take out the incoming Darkspawn, while an archer and a mage can continue to work on the Archdemon.
Phase Three
 Once the Archdemon is reduced to about 1/4 of its health, it will fly up and land close to two doors leading to the platform. It will stay in this spot, and you can attack it at close range. The catch is that it will call in a stready stream of Darkspawn from both doors non-stop. Sometimes you may have to take steps to thin out the Darkspawn ranks, but nonetheless, keep your eye on the prize.
Once it falls, you'll be faced with a fundamental decision about who delivers the killing blow, and however you do it will have repercussions for the epilogue. Possibilities include you sacrificing yourself to save Ferelden, or Alistair, or Loghain. However, if you fell in with Morrigan's request to impregnate her, anybody can deliver the killing blow without having to sacrifice themselves.
 Once that is done, you'll be treated to a cutscene whereby the ruler of Ferelden, whether that's Anora or Alistair or someone else, will announce and celebrate the victory and the end of the blight. Once you step out the door of the palace, the game ends with an epilogue that explains the aftermath, most of which are direct consequences of choices you made throughout the game.
The End