-

- Forums
- Chatrooms
- Gallery
- Gameplay Videos
- Upload
- Articles
- Mod Reviews
- Shop SP: Games, Movies, Books

Brecilian Forest | The Camp | Circle Tower | Denerim | The Final Battle | Haven | Landsmeet | Lothering | Orzammar | Ostagar | Redcliffe | Ruined Temple Areas available as Downloadable Content: Honnleath | Return to Ostagar | Warden's Keep |
Ruined Temple | Mountain Lair | The Gauntlet | Wyrmling's Lair |
The Gauntlet
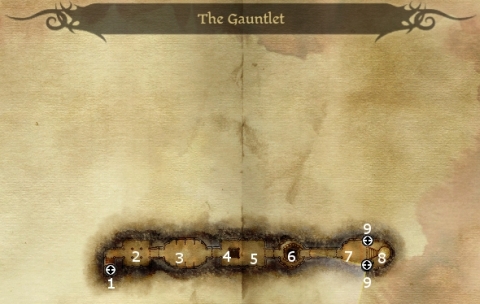
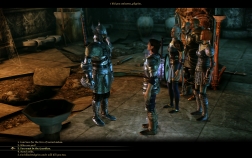 Here is a room with eight spirits. To open the door to the east, you must indulge each spirit in attempting to answer a riddle that it poses. If you answer correctly, the spirit fades away. It you answer incorrectly, the spirit turns into an Ash Wraith and attacks. However it falls out, one way or the other with all 8 spirits will cause the door to open. The incentive to answer the riddles correctly simply means that you get more xp than you would defeating the spirits as Ash Wraiths.
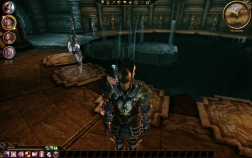 Here is a room surrounding a pit and no apparent way through. However, you'll also notice 12 tiles. Six on the north side of the pit, and six on the south side of the pit. Each tile causes one or two bridge tiles to partially materialize over the pit. Note that the key word is 'partially'. Note that you have to have characters standing on more than one tile that will materialize a bridge tile. This will cause the bridge tile to fully materialize such that another character can step on it. Once you realize this, the goal becomes apparent, to fully materialize the bridge tiles in a sequence so that a character can step from one end of the pit to the other. Note that it is not enough to cause the next bridge tile to materialize. You have to do it in such a way so that the current bridge tile remains solid under the feet of your 'stepping character.'
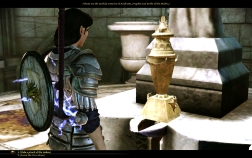 Here is the Urn of Sacred Ashes. Now you possibly have a choice. One is to take a Pinch of Sacred Ash and walk away.
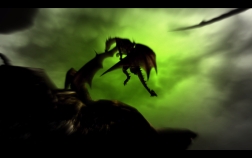 Incidentally, once you have the Pinch of Sacred Ash and try to leave this area for somewhere else on the world map, the Archdemon will become more aware of what you are up to. You'll have a nightmare regarding this, and shortly thereafter, a number of Shrieks will attack your camp. Shrieks are Darkspawn that can turn invisible, and use a shriek that can stun opponents within a certain radius. Also, keep in mind that your Grey Warden character is the only character that you can control directly during this fight. Your companions will have to rely on the scripting that you set for them beforehand.
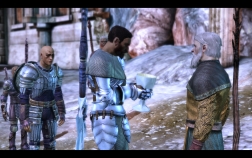 If you happen to fulfill Kolgrim's quest to pour the dragon blood into the Urn, speak with him again once you're back at the Mountain top. He will then offer you the opportunity to drink from a goblet with dragon blood in it. This unlocks the Reaver specialization.
