-

- Forums
- Chatrooms
- Gallery
- Gameplay Videos
- Upload
- Articles
- Mod Reviews
- Shop SP: Games, Movies, Books
|
|
The Supplicants’ Gate
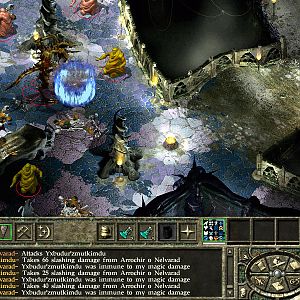
 Your initial point of arrival. Once you arrive, you’ll notice the forces of the crusade, led by a Fallen Solar, a Blue Dragon, and a Demi-Lich. You’ll also notice the militia of the city who are charged with defending the City of Judgment. You’re arrived just in time for a standoff. Here is a critical choice where you’ll have to side with either the Crusade or the Militia. More on this below.
Now for your two choices …
Siding with the Militia
 You can choose to side with the Militia and assist in the defence of the city. If Kaelyn is in your party, she’ll abandon your party now matter how good your influence with her is and will end up attacking you later on. If this happens, Araman will join your party as a controllable NPC. His starting equipment includes an Amulet of Natural Armor +5, a Bracers of Armor +10, a Ring of Free Movement and a Ring of Protection +5. In the meantime, you’ll be forced to fight the Blue Dragon queen Sey’ryu as well as a few other participants in the crusade. Surprisingly she doesn’t even bother to cast any defensive spells on herself and rushes straight into melee combat while breathing electricity once in a while. As such, she’ll fall quickly under a sustained melee assault. She’ll leave behind Sey’ryu’s Scales.
Siding with the Crusade
You can choose to aid the Crusade’s invasion of the City. This means potential conflict with the defenders of the gate, which include a monk named Jorin, a Dwarven Defender named Halor Thaurmurrin, an Elven archer named Syrune, and a Halfling warrior named Nolin Readleaf.
You can convince them to abandon the defence of the Gate with a successful Diplomacy or Intimidate check. This earns you 1,500 xp. Or you can fight them, and earn a fair bit of booty in the process. Halor leaves behind a Dwarven Waraxe +5. Syrune leaves behind a Periapt of Wisdom +5 and the Planar Hunter’s Cloak. Nolin leaves behind Arrows +5 and the Rage of Lost Hin. Jorin leaves behind Gloves of the Yellow Rose +5 and Myr Styah’be’eh.
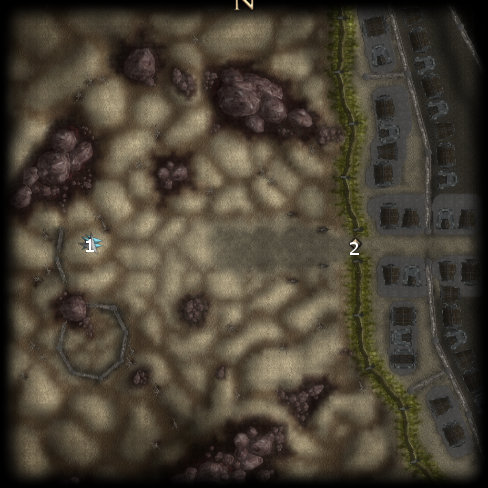
You now have a number of areas to visit, each involving a particular mission. The nature of the mission depends on whether you’ve sided with the Crusade or with the Militia. You’re allies, whoever they end up as, will explain the missions to you. Two of the areas are the Basilica of Lost Hope or Eternity’s End. They can be accessed through #2. The third mission will be at this gate, whether you choose to remain here or go other areas and return. The nature of the mission for the Gate is explained below.
Repelling a Demonic Invasion
The Tan’nar’ri are watching the events with great anticipation. They hope to seize the opportunity created by the Crusade, and steal away with a bounty of souls back into the Abyss. If you’ve sided with the Militia, your job is to drive the horde back into the Abyss. If you choose to do this now, it is not particularly difficult since you’ll helped out at some point by the Baatezu from the Nine Hells. Keep in mind that you’ll be up against a particularly powerful Balor named Ulreth the Corrupter. If you do this later, you’ll be up against a Balor named Nar’gazzn the Defiler and several Hezrou. Whether it is Ulreth or Nar’gazzn, keep in mind that either is capable of scoring vorpal hits.
Holding back the Militia
If you’ve sided with the Crusade, your job becomes to help Sey’ryu hold the Gate against incoming Militia forces. If you choose to do this as the second or third mission instead of the first, Sey’ryu may be significantly wounded and in need of healing. If she’s still alive at the end of it, you’ll get a 2,000 xp bonus.