-

- Forums
- Chatrooms
- Gallery
- Gameplay Videos
- Upload
- Articles
- Mod Reviews
- Shop SP: Games, Movies, Books
|
|
Brecilian Forest | The Camp | Circle Tower | Denerim | The Final Battle | Haven | Landsmeet | Lothering | Orzammar | Ostagar | Redcliffe | Ruined Temple Areas available as Downloadable Content: Honnleath | Return to Ostagar | Warden's Keep |
Dalish Camp | East Brecilian Forest | Brecilian Ruins, Lower Level | Brecilian Ruins, Upper Level | Brecilian Ruins, Werewolf Lair | West Brecilian Forest |
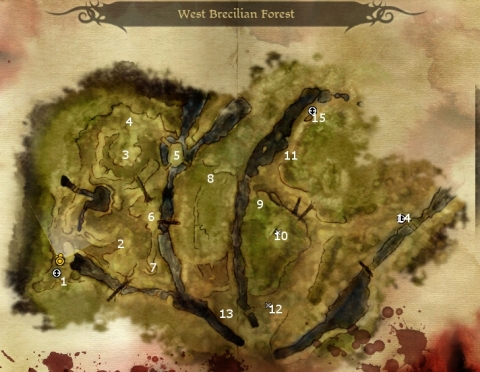
West Brecilian Forest
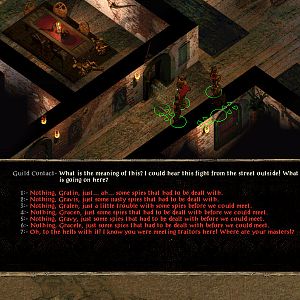
 Here you are confronted by Swiftrunner, one of the leaders of the Werewolves, along with some of his pack mates. He's initially disposed towards fighting you, but you can use Persuasion or Intimidation to talk your way out it. If it does come to a fight, cutting him down to size first will end the fight.
 have to fight at least 3 Wild Sylvans. You'll find a dormant tree-like being known as the Grand Oak. In short, he wants you to return his Grand Oak Acorn to him before he is willing to open up a path deeper into the forest. If you do recover the acorn from a nearby Mad Hermit and bring it back to the Grand Oak, he will then give you an Oak Branch (Veridium) that allows you to travel further into the forest.
 Here is a too good to be true camping spot. It is really a trap set for you by a Greater Shade, similar to the sleeping trap set by Old Man Willow in the Lord of the Rings. If you inspect the campsite too often, you'll succumb to the powers of the monster, and one or more of your party members will appear dead when it appears. Instead, inspect it only once and then try to walk away to provoke the upcoming fight with a Greater Shade. Immobilize it as much as you can, and then hit it as hard as you can. A nearby chest holds the Dalish Gloves and a Dusk Ring.